System Assembling
Assembling PC
- Introduction
- PC Assembling is significant for a computer hardware technician.
- After deciding on the application, make a list of the components and their required specifications.
- After the system is assembled use the BIOS settings to configure your system.
- After configuring BIOS settings, partition your hard disk and install the Operating system.
Materials Required for Assembling
| Components | Tools |
| Processors Motherboard Hard Disk Drive Floppy Disk Drive CD-ROM Drive Keyboard Mouse Cabinet with SMPS Speakers Uninterrupted Power Supply Add on Cards like the video card, Modem, Network Interface Card if not inbuilt in the system | Star Screwdriver Flat Head Screwdriver Magnetized screw driver Forceps for removing the jumpers and screws Testing tools like Multi-meter |
Precautions for Assembling and Disassembling
- Precautions to be taken while assembling the PC
- The components should be handled gently.
- The room should be free of antistatic charges and static electricity.
- The person assembling the system should wear antistatic wrist strap with proper grounding.
- Precautions to be taken while disassembling the system.
- Take a backup of the entire system as a preventive measure before disassembling the system.
- All the devices should be removed from power supply before disconnecting them.
- Ensure that all the necessary settings like the DNS address are documented so that the system can be configured back to the same state after it is assembled.
Procedure for Assembling a PC
- Step 1
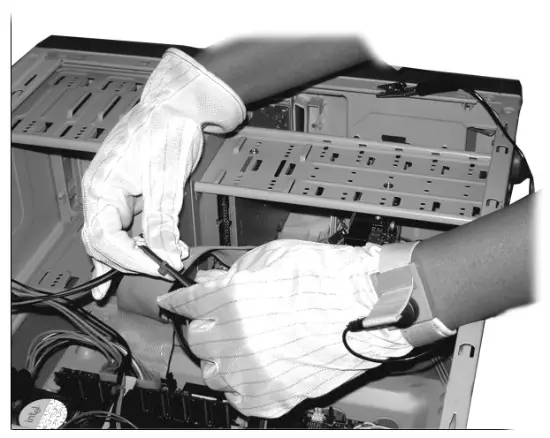
- Wear the gloves and the antistatic wrist strap before you start the assembling process.
- Step 2
- Remove the side cover of the case.
- Step 3
- The metal blanking plates used which are to be removed for placing the add on cards.
- Step 4
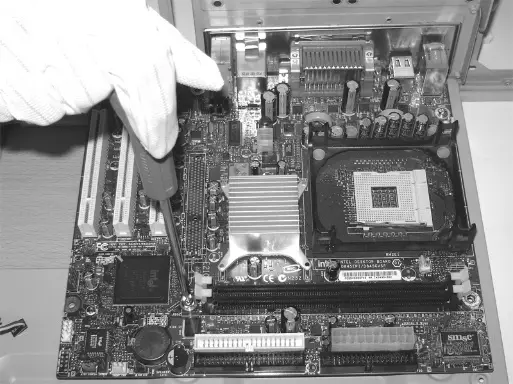
- The next process is to install the motherboard.
- The fixings are called standoffs.
- The fixings are generally made of brass.
- Step 5
- Before placing the motherboard place the blanking plate for the ports.
- Step 6
- The next step in the assembling process is to fit the motherboard on the case.
- Step 7
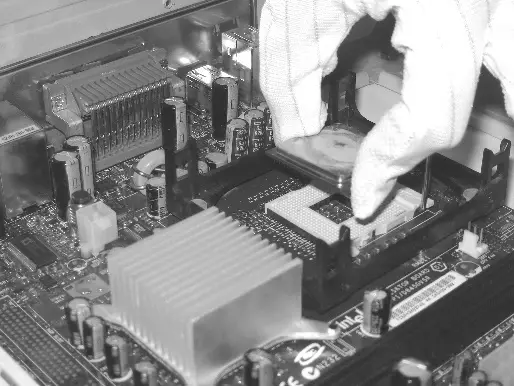
- Assembling the processor to the motherboard.
- Step 8
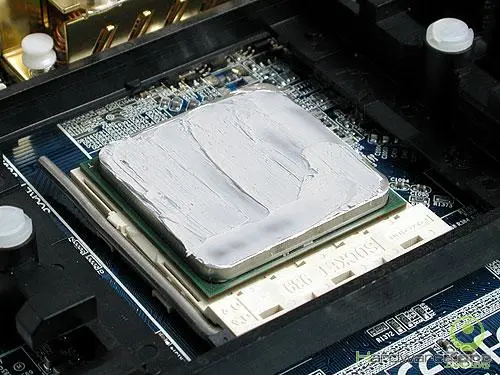
- Apply a small amount of thermal grease and place the heat sink above the processor.
- Step 9
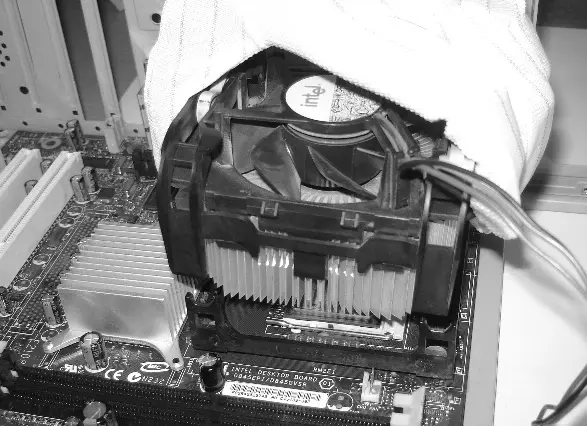
- Place the fan above the heat sink to cool the processor.
- Step 10
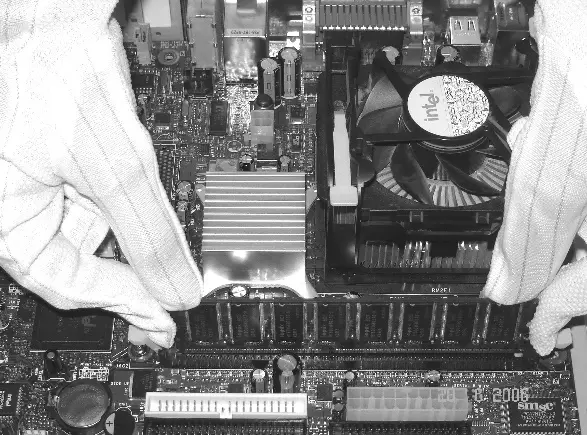
- Connect the RAM to the system board.
- Step 11
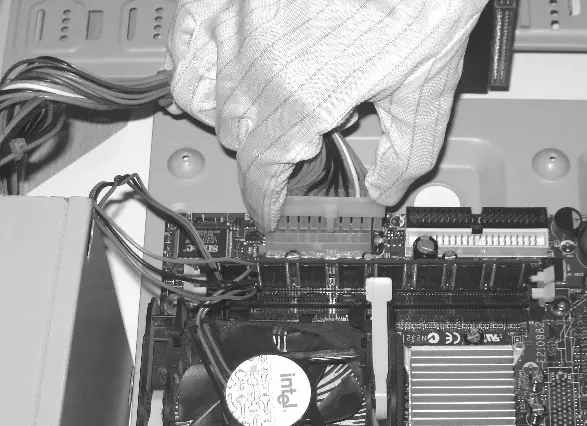
- Connect the Power supply unit.
- Step 12
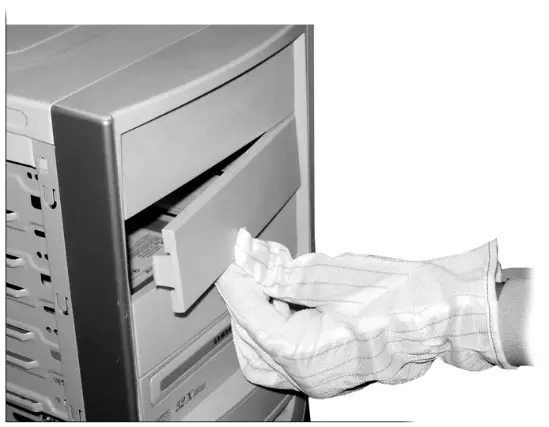
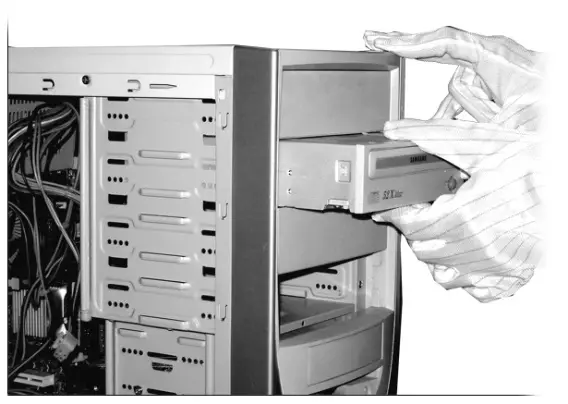
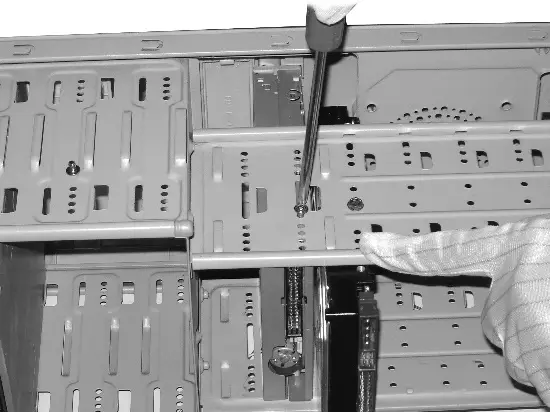
- Connect the mass storage devices
- Insert the CD-ROM drive from the front side of the case Step 13
- Connect the floppy disk drive by inserting it from the front side.
- Step 14
- Connect the front panel connectors to the motherboard.
- Step 15
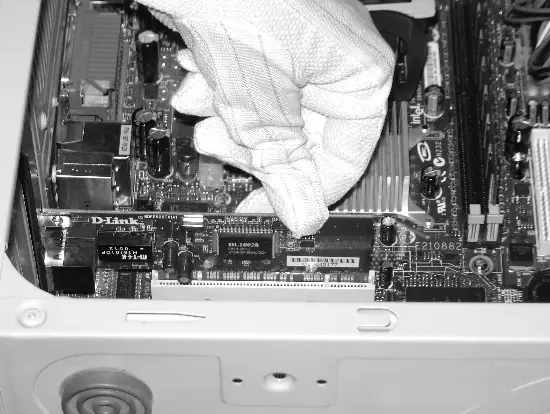
- Connect the Add on cards if any present.
- Step 16
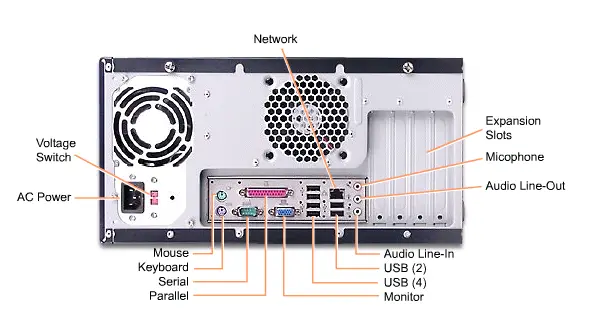
- Connect the peripheral connectors like the keyboard, monitor, printer, serial ports.
- Step 17
- Connect the power supply to the system unit and the monitor.
Disassembling a PC
- Removing the Power Cable
- The Power cable connected to the rear side of the system unit can be removed by switching off the switch Removing the input Devices
- Remove the PS/2 keyboard and mouse from the system unit by pulling the plug and not the cable.
- Removing the monitor connection
- The power connector connected to the power supply and the interface connector connected to the 15 pin D type female connector at the rear side of the system unit
- Removing Serial and Parallel Connectors
- It is present in the rear side of the system unit and can be removed by removing the thumb nails at both ends of the connector.
- Removing Network Cable
- The RJ-45 connector can be disconnected by pressing the plastic tab to release it from the NIC Removing the System case Lid
- The case is provided with screws which need to be removed before you could open the case.
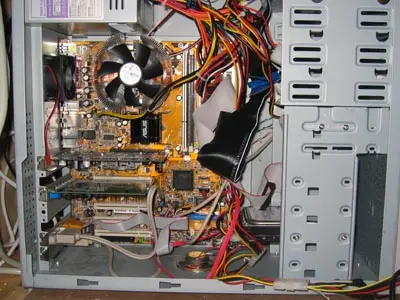
- After removing the case lid the components inside the system unit are clearly visible.
- Removing the Hard disk , CD-ROM Drive and the Floppy Drive
- The hard disk is the major storage device and hence take a backup of the hard disk before it is removed.
- Removing the Power connector from the motherboard
- By pressing the clip and you can remove the power supply connector from the motherboard.
- Removing the processor
- After removing the fan and the heat sink, it is possible to remove the processor from the motherboard Removing the memory
- Removing SIMM - The SIMM sockets are provided with silver clips at either end. Gently push the metal clips at the side to release the SIMM.
- Removing the Motherboard
- Identify the screws present in the motherboard. Use the correct type of screw driver to unscrew the screws.
- Do it gently otherwise this would crack the motherboard and the motherboard would be useless.
- After removing the screws the motherboard can be easily removed from the case.
- Some times the motherboard is provided with plastic stand offs. Unclip these plastic stand off and carefully remove the motherboard.
- After removing the motherboard place the motherboard inside antistatic bags.